Create Your Design
Do you already have a look and feel that you would like to use? Maybe you have an existing website that you would like to convert into a ShopSite website, or maybe you are a designer who has created a mock up and you would like to learn how to transform your mock up into a custom template for ShopSite. Before you start this tutorial you will want to completely create the header and footer layouts you want to make into custom templates.
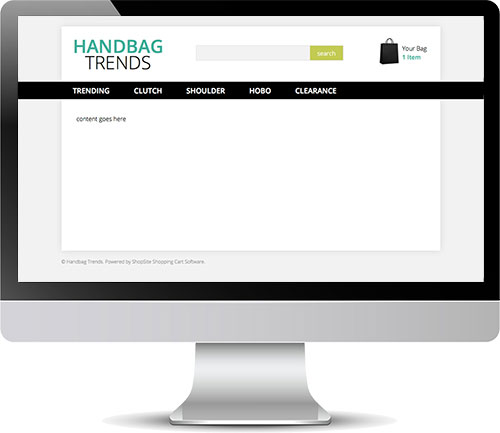
Below is my example of a website header and footer that I created in Adobe Dreamweaver. Notice how I have "content goes here" in the main body of the page. That will come in handy later on.
Download & Upload Necessary Files
Let's start by downloading this ZIP file that contains a header include file, footer include file and a custom CSS file. Once downloaded open the ZIP file and upload the 2 include files into your ShopSite store under Merchandising > Custom Templates > Includes > Upload Include File. Upload the publish file under Merchandising > Custom Templates > Includes > Upload Publish File.
Theme and Colors
Next you will want to go to Preferences > Themes, and select the Bare Bones theme. Save changes but before publishing, go to Preferences > Layout Settings, and change the store color 5 (near the bottom of the page) to #FFFFFF. This is important because it tells the BB theme files to use the header, footer and CSS file you uploaded instead of the regular Bare Bones theme files.
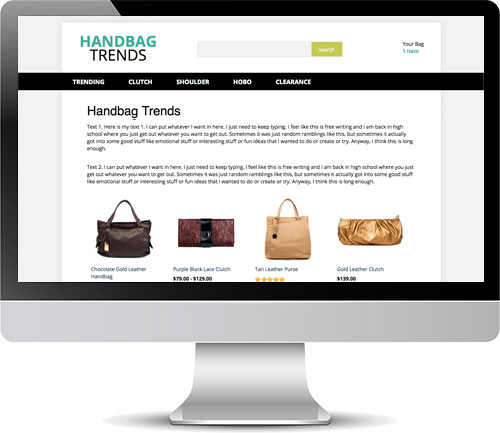
When you publish your store, you should see a very plain layout. The page you view should have a page name, and text or products if you had added those. Below is my example site after publishing.
Header & Footer
Now you are ready to create the "custom" part of your custom templates. Open the code for your page; my code is in Dreamweaver. Copy everything from just below the <body> tag to the opening element containing "content goes here".
In your ShopSite back office, go to Merchandising > Custom Templates > Includes > BB-Header.sst > Edit Include. Paste the code from Dreamweaver (or whatever application you are using) following the last line in this file, then save changes.
Repeat the same steps for your footer. Copy everything from the closing tag for the containing element for "content goes here", all the way down to just before the </body> tag. Paste that code after the last line in the BB-Footer.sst include file and save changes.
Your CSS
Next, you will want to add your CSS. Copy all your CSS, and paste it into the bb-custom.css file found under Merchandising > Custom Templates > Includes > Publish Files.
There is already some CSS in the bb-custom.css file. This CSS is suggested for some of the main ShopSite features, but they are features that you may want to customize. You can remove or edit this CSS, but I would wait to do so until after you have seen what the site looks like with it.
Note: Lines that start with a pound sign in ShopSite are commented out. So if you have a line in your CSS file for an id that starts with the pound sign, simply add a space in front of the pound. For example: "#id" would become " #id" (note the space). If you have the element and id, you don't need to add a space. For example, you would not need to add a space before "div#id".
Publish
You are now ready to publish. When you make changes in your ShopSite store such as add pages, edit products, or modify colors, the "Publish" button will appear to let you know there are new changes in your site that are not yet live and need to be published. However, when you edit templates, you do not see the "Publish" button. Instead, when you are ready to publish template changes, you can force a publish. You will do this by going to Utilities > Publish > Regenerate.
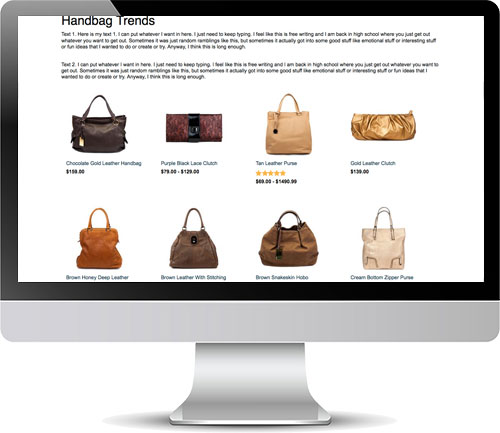
Below is what my store looked like when I published after editing the header, footer and CSS files. Notice the bag icon next to the mini cart is missing; we'll get to that in a moment.
Images
The header, footer and CSS files are all used on both secure and non-secure pages. For this reason we need to make sure that the URLs for all images and other files can change based on the security of the page a customer is on. When on the checkout screen all images and files need to be secure, but when on regular store pages images do not need to be secure.
Start by uploading all your template images and files into ShopSite. Go to Images > Upload, and upload all images and files associated with the template.
Next, to make sure image URLs can change, we need to use a VAR tag for the root URL. In your custom BB-Header.sst and BB-Footer.sst include files; replace the first part of the URL with [-- VAR.URL --].
For example, if you have <img src="http://www.mydomain.com/media/logo.jpg">,
you would change it to be <img src="[-- VAR.URL --]/media/logo.jpg">.
In the bb-custom.css file, it is better to use relative URLs rather than absolute URLs.
For example, if you have url(http://www.mydomain.com/media/background.jpg) in your CSS,
you would change it to url(../media/background.jpg).
Celebrate
Yay! You have created a custom template for your ShopSite store! Take a moment and explore various pages in your site. Since you are mostly using an existing theme, the Bare Bones theme, the header and footer files should have already customized the cart, registration, wish list, more information, and all other store pages.
There are more layouts than just the ones you can see off the bat. You can go to Pages > Edit Page Layout, and change your page layouts to any template that starts with BB to get different page layouts. You can do the same for products. Go to Products > Edit Product Layout, and change your product templates to any template that starts with BB to see what different layouts you can get for the product more information pages.
Another benefit of using largely ShopSite template files is that as new features become available in future releases of ShopSite, if those features are in the main body of the page, your templates will automatically be updated to include those features.
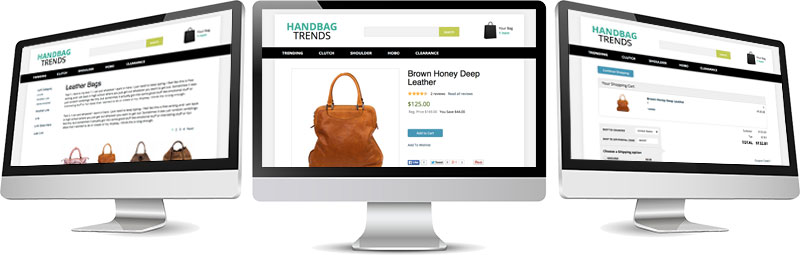
In the page example above on the left, you will see a left navigation. That is part of the template already. You can enable it by going to Preferences > Navigation. Watch this video tutorial on how to configure navigation menus in your store. The top and footer navigation menus are not in your custom template so that they don't conflict, but you can add them into your custom template with tags found here.
More Features
If you designed elements in your code such as a search field, a mini cart, customer registration links, or just images that you would like the merchant to be able to change without modifying the template, you can replace those elements in your code with ShopSite tags for those features.
Below are some more commonly used tags that merchants will add to their BB-Header.sst and BB-Footer.sst template files. For a more complete list you can refer to the BB Theme documentation file.
Store Search
Replace your search field with [-- IF VAR.Secure "no" --][-- INCLUDE BB-SearchField.sst PROCESS --][-- END_IF --] to display the search field on all non-secure pages (secure pages don't like non-secure search forms on them). This tag links to an include file which obeys all the places you can turn search on and off including under Pages > Edit Page Content, and under Preferences > Search Settings > Search Layout.
Company Logo
Replace the logo in your template with [-- IF STORE.UseCompanyLogo --][-- STORE.CompanyLink --][-- END_IF --] then specify the logo image and logo URL under Preferences > Layout Settings. This allows merchants to change the logo if they update their logo in the future. Also, the logo under Preferences > Layout Settings, is used in a few other places such as on email receipts.
Mini Cart
Replace your mini cart placeholder with [-- IF MiniCart --]<script type="text/javascript">DisplayMiniCart("Subtotal");</script>[-- END_IF --] to activate the mini cart JavaScript. The mini cart feature must ben turned on in your store in order to display the mini cart, and you can turn it on in ShopSite Pro stores under Commerce > Order System > Layout Info. There are 3 different displays for the minicart. You can change "Subtotal" in the code shown, to "ItemCount" for a more simple display, or to "Detail" for a more detailed display.
Breadcrumbs
To enable a basic breadcrumb trail on your store pages, simply add [-- VAR.Breadcrumbs "yes" --] to the very top of your BB-Header.sst include file.